“`html
Logitech G Pro Flight Yoke Setup Guide for MSFS
Flight sim hardware has gotten complicated with all the conflicting setup advice flying around. When I unboxed my Logitech G Pro Flight Yoke last year, I discovered the manual glosses over Windows driver behavior, MSFS doesn’t always recognize the device right away, and those default sensitivity settings make the yoke feel like you’re fighting through molasses. I’ve spent enough time wrestling with flight sim gear to know exactly where first-timers get tripped up — the stuff that happens between opening the box and actually getting airborne. This guide covers those exact gaps.
Unboxing and Physical Setup
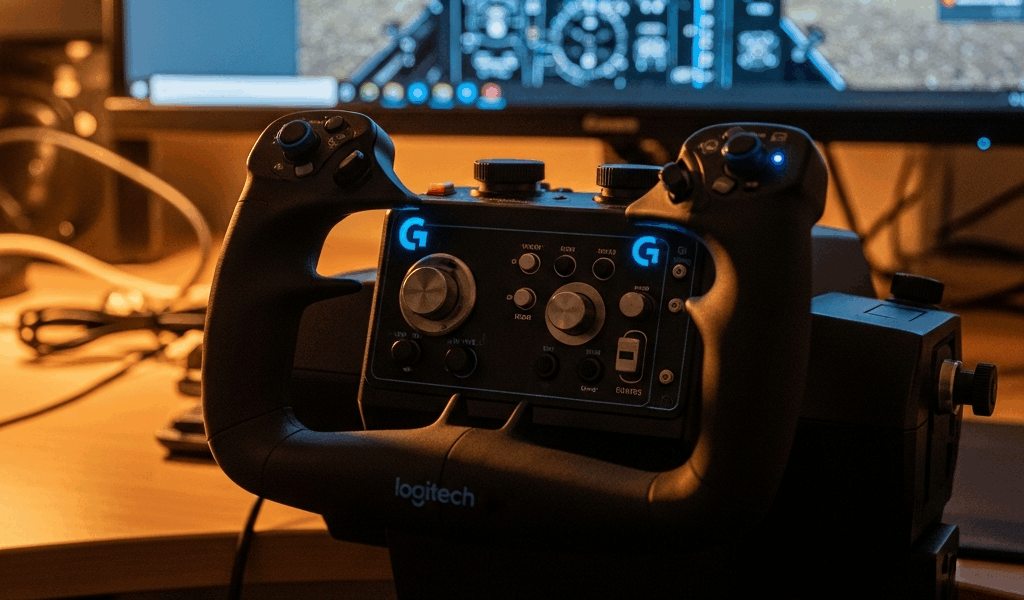
The yoke arrives in a surprisingly compact box. You get the yoke itself (about 2.5 kg), a desk-mounted stand with two C-clamps, a USB cable roughly 1.8 meters long, and some basic paperwork. Ignore the paperwork for now.
Assembly is straightforward. The yoke’s base uses a T-slot mounting system. Slide the stand’s metal bracket into that slot and lock it with the lever — hand-tight works, no need to force anything. Most desks running 70-80 cm deep will handle this without fighting your keyboard or monitor. My standard gaming desk accommodates it without issue, though narrower setups definitely feel the stand’s footprint.
Cable management matters more than you’d think. Route the USB cable underneath your desk or through a cable tray if you have one available. Keep it away from power cables and avoid routing it through tight clips that stress the connector. Since this cable doesn’t come with ferrite shielding, electromagnetic interference is worth preventing at the source.
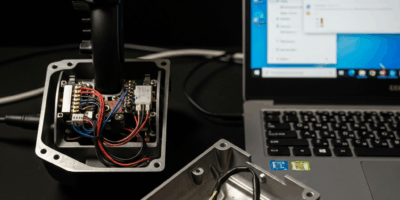
Here’s the USB connection detail most guides skip — and it’s the kind of thing that wastes hours: plug the yoke directly into a USB 3.0 port on your motherboard, not a hub. If your motherboard doesn’t have available USB 3.0 ports, use a powered USB hub with its own AC adapter. Passive hubs cause recognition failures. I learned this the hard way, spending two hours reseating cables before realizing my hub wasn’t powered.
Windows Driver Installation and USB Detection
Plug it in. Windows attempts automatic driver installation immediately. This takes 30-60 seconds. Don’t unplug or restart — wait until you hear the USB connection sound and Device Manager shows it without yellow warning indicators.
Open Device Manager by right-clicking the Start menu. Look for “Human Interface Devices” and expand it. You should see “Logitech G Pro Flight Yoke” listed. Yellow exclamation marks or an appearance under “Other Devices” means the automatic install failed. Visit Logitech’s support page, download the latest driver (currently version 1.5.x), and run the installer.
The G Hub software will want to install during setup. Here’s what people get wrong: you don’t actually need G Hub for flight sim. Skip it or uninstall it afterward. G Hub adds software overhead and can force its own control mappings that clash with MSFS bindings. Plenty of users report input lag or duplicate axis registrations when G Hub runs in the background. Your yoke operates perfectly without it — at least if you want smooth, predictable control response.
Verify detection by opening Settings > Devices > Other devices (or USB devices, depending on your Windows version). The yoke should appear without error codes. Once confirmed, close Device Manager.
MSFS Initial Calibration and Sensitivity Tuning
Launch Microsoft Flight Simulator. This matters: the yoke won’t show up in control bindings until MSFS finishes initializing. Wait for the main menu to fully load, then go to Settings > Controls > Devices.
The yoke appears as “Logitech G Pro Flight Yoke” in the device list. Select it. MSFS auto-detects the axis count and button layout. Now for the part that determines whether flying feels responsive or sluggish.
Find “Axis Tuning” or “Sensitivity” options. Default values are almost universally wrong for realistic flying. Try this starting point: pitch sensitivity at 65%, roll sensitivity at 60%. These aren’t random numbers — they mimic the physical resistance of actual control yokes. Set smoothing between 60-70% to eliminate twitchy hand tremor inputs.
Deadzone is different from sensitivity. Deadzone is the neutral area around center where nothing happens — it compensates for the yoke’s center position not being perfectly centered. Set this to 2-3%. Anything above 5% makes trim feel disconnected.
Skip curve presets initially. Linear response works best as a starting point. After a few hours flying and getting a feel for how the yoke responds, experiment with exponential curves if you prefer more precision at small stick movements.
Calibrate your neutral position next. In the same control settings menu, find “Calibrate Yoke” or “Axis Calibration.” Center the yoke with zero deflection forward, back, left, or right. Click calibrate. This locks the center point MSFS uses as zero-input for pitch and roll.
Binding Essential Controls and Button Mapping
The Logitech G Pro Flight Yoke has 18 buttons and a scroll wheel. That’s fewer than you’d expect coming from a joystick. Prioritization becomes necessary.
Start with these six essential bindings:
- Trim up and trim down (use the dedicated trim wheel, or bind two buttons if needed)
- Autopilot toggle
- Flaps up and flaps down
- Landing gear toggle
MSFS supports modifier keys. Hold Shift and press a button to create a secondary binding. This effectively doubles your buttons to 36 commands. Button 1 alone could toggle autopilot, while Shift + Button 1 toggles autopilot altitude hold. Experienced users squeeze serious functionality from limited hardware this way.
Here’s a practical reference for newer pilots:
| Function | Button Assignment |
|---|---|
| Trim Up | Scroll Wheel Up |
| Trim Down | Scroll Wheel Down |
| Autopilot | Button 1 |
| Flaps Extend | Button 2 |
| Flaps Retract | Shift + Button 2 |
| Landing Gear | Button 3 |
After binding these controls, save your profile. Export it if MSFS allows — keeping a backup prevents reconfiguration headaches if Windows updates mess with the settings folder.
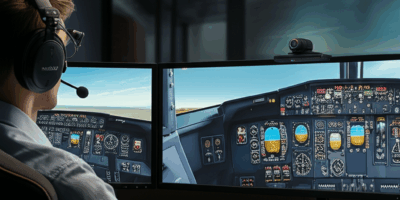
Testing in MSFS Before Your First Flight
Don’t jump into complex instrument approaches right away. Start with clear-weather bush flying in any region. Probably should have opened with this section, honestly — a frustrating first experience with miscalibrated controls discourages people from using the yoke correctly later.
Pick a bush airstrip scenario. Clear weather, light winds, daytime. Eliminate variables so you’re testing hardware response, not troubleshooting crosswind landings.
Once airborne, move the yoke forward and back slowly. Watch the pitch indicator respond smoothly. The nose should rise and fall without lag or jerking. Test roll next — gentle left and right should produce smooth, proportional banking. Delayed response means sensitivity is too low. Twitchy response means smoothing is too low.
Test trim inputs using your assigned buttons. Trim should feel instant. A half-second delay usually means you forgot to uninstall G Hub — background processes cause this exact issue.
Watch for red flags: inverted pitch (pulling back dips the nose), the yoke failing to return to center after releasing, or constant axis inputs despite the yoke sitting still. Any of these signal miscalibration or USB hub problems. Recalibrate your neutral position and verify your USB connection isn’t running through a hub.
Fly one normal approach and landing. Don’t stress about nailing it — you’re confirming control response stays consistent through climb, cruise, and descent. The yoke shouldn’t feel dead during climb then hyperresponsive on descent.
After confirming basic operation, you’re done. Your next logical upgrades are either a throttle quadrant (Logitech G Pro Throttle Quadrant works great) or a VR headset for head tracking. Both genuinely transform immersion, but get the yoke sorted first.
This hardware is solid. Most issues come down to USB hub problems or MSFS driver conflicts — both completely preventable with these steps. Invest an hour into calibration now, and you’ll have smooth, reliable control for years.
“`


Stay in the loop
Get the latest ultimate flight simulators updates delivered to your inbox.