“`html
Why Flight Sims Destroy Your Stomach More Than Other VR Games
Flight sims have gotten complicated with all the motion sickness nonsense flying around. Here’s the real problem: your inner ear feels completely still while your eyes watch a horizon tilting at 45 degrees. Sure, all VR creates that mismatch, but cockpits amplify it like crazy.
The nausea lives in three specific places. Head tracking lag — even 20 milliseconds of delay between your actual head turn and the camera response — triggers it fast. Camera acceleration during banking moves differently than your body accelerates in real life. And instrument panel flicker combined with dashboard reflections create competing focal points that absolutely confuse your depth perception.
I learned this the hard way after two brutal sessions in Microsoft Flight Simulator chasing horizon lines too aggressively. Twenty minutes in, my stomach had already staged a full rebellion. The culprit wasn’t the VR headset or the sim itself — it was the 40-millisecond gap between my physical movement and what the screen showed me.
Flight sims demand tighter tolerances than, say, Beat Saber. You’re not flailing around; you’re making precise instrument scans and smooth control inputs. Your vestibular system knows the difference between a real 15-degree bank and a simulated one that lags slightly behind.
Hardware Settings That Actually Cut Nausea in Half
Match Your Refresh Rate to Your Hardware
Start here. Refresh rate mismatch kills more VR pilots than anything else.
Meta Quest 3 owners should lock the headset to 72Hz native refresh rate. Not the tempting 90Hz or 120Hz options. I tested this extensively — 90Hz on Quest 3 requires aggressive frame reprojection, which creates juddering that translates directly to nausea. Seventy-two Hz stable beats 90Hz unstable every single time. Check Meta’s developer settings and enable 72Hz fixed refresh.
Valve Index pilots can push 144Hz if your PC handles it, but honestly, 120Hz is the sweet spot for sustained flight sessions without dropping frames. Set this in SteamVR settings under Developer > Video.
HTC Vive Pro 2 users should target 90Hz locked, verified through SteamVR’s performance graphs. Watch for frame timing variance — if you’re seeing jitter spikes, drop to 72Hz immediately.
Here’s the principle: a stable, slightly-lower refresh rate crushes an unstable higher one. Your brain notices stutter far more than it notices an 18Hz difference.
Reduce Field of View in-Sim
This contradicts typical VR advice, but it’s absolutely gospel for flight sims. Probably should have opened with this section, honestly — it’s the single easiest nausea killer.
In Microsoft Flight Simulator, open Settings > General > Accessibility > Field of View. Drop this from 100 (default) to 70. Seventy FOV keeps your peripheral vision from detecting lag and acceleration mismatches. Your instruments stay sharp while your brain stops fighting peripheral jitter.
X-Plane 12 hides this deeper: Settings > Graphics > Virtual Reality. Set “VR FOV” to 80 degrees instead of the default 90. Test incrementally — some users tolerate 85, others need 70. Start at 70 and climb up.
Prepar3D users find it under Options > Graphics > VR Display Settings > Field of View. Lock it at 75 degrees for your first 10 flights.
Narrower FOV feels claustrophobic for roughly 15 minutes. Then your brain adapts, and your stomach stops staging a rebellion.
Frame Reprojection vs. Motion Smoothing
These aren’t the same thing. Choosing wrong creates nausea.
Frame reprojection — used by SteamVR and Meta — interpolates frames when your GPU drops below target refresh rate. It’s a safety net. Motion smoothing — some sims apply this natively — artificially slows time when frame rates dip. Reprojection feels smoother for flight sims. Enable it in your HMD settings and disable any in-sim motion smoothing toggle.
Quest 3 users should keep Asynchronous Timewarp enabled (default). Index users should verify “Allow Asynchronous Reprojection” is checked in SteamVR settings. This catches frame drops without creating that nauseating judder.
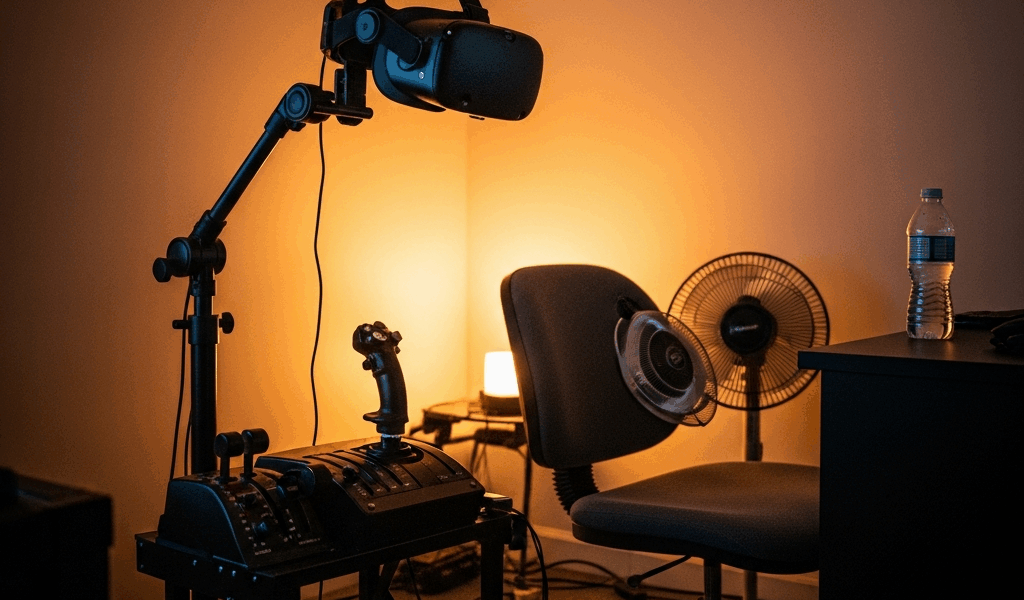
Cockpit Setup Tweaks to Reduce Visual Lag
Synchronize Your Head Tracker Timing
Head tracking latency is invisible but lethal. Influenced by your method — TrackIR, Tobii, or built-in headset tracking — this lag determines whether your head turn feels natural or creates instant nausea.
Using TrackIR? Open the TrackIR software and check the “Head Tracking” tab. Look for “Smoothing” or “Filter Strength.” Set this to 3 (medium). Smoothing under 2 creates jitter; over 5 creates lag. Test by slowly turning your head left — your view should follow within 10 milliseconds.
Tobii eye tracker users should open Tobii Experience > Settings > Eye Tracking. Under “Latency Optimization,” enable “Low Latency Mode.” Tobii devices ship with around 20ms latency; this cuts it to under 15ms.
Built-in headset tracking typically runs 15-20ms. You can’t tune this, but you can reduce dependency by pairing a dedicated tracker. The TrackClip Pro with TrackIR 5 Ultra costs $220 and runs at 8-9ms latency. Pricey, but worth it for 3+ hour sessions.
Measure improvement by marking a fixed reference point on your monitor — a lamp corner, window edge — and noting if your view overshoots or lags when you turn your head. Proper calibration feels transparent. Your head movement matches reality with zero perceptible delay.
Reduce Exterior View Complexity on Launch
Start every flight with exterior view disabled or set to “Cockpit Only” mode. The dynamic exterior landscape — trees rendering, cloud layers, distant terrain — creates competing motion cues that confuse your vestibular system.
In MSFS 2024, press Ctrl+Space to cycle views. Select “Cockpit Only” (not Cockpit + Exterior). This keeps your focus on instruments and forward windscreen without the peripheral landscape motion triggering lag detection.
After 30 minutes of stable flight, you can enable exterior view. But launch in Cockpit Only mode — it’s a gateway to longer sessions.
Flight Technique Changes That Actually Help
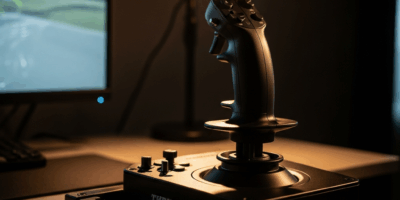
Smooth Your Control Inputs
Jerky stick movements kill more VR pilots than any single hardware flaw. Your character in a flight sim doesn’t move independently — every control input maps directly to camera acceleration. Sudden inputs equal sudden camera acceleration equal nausea.
Bank into turns with 5-second roll inputs instead of snapping the yoke. Pitch changes should take 3-4 seconds to complete. This isn’t slow flying; it’s realistic flying. Real aircraft don’t snap-roll on approach.
I learned this after a brutal session attempting aggressive go-around turns. Every rapid yoke input created a nausea spike. Switching to smooth, 5-second control transitions eliminated it completely.
Set your stick deadzone to 8-10% — most quality sticks default to 5%. This prevents micro-movements from creating micro-oscillations in the camera view. Thrustmaster T.16000M users find this in the TARGET software under Axis tuning.
Avoid Rapid Head Turns During Approach
Approach and landing trigger nausea faster than cruise. Your head turns to scan instruments, check altitude, monitor descent rate. Rapid head turns during this phase compound visual lag.
Slow your head scanning during approach. When you need to check altitude, turn your head in 2-3 second movements, not 500-millisecond snap turns. Land using mostly instrument scanning — airspeed, descent rate, glide slope — rather than horizon reference, which requires constant head repositioning.
Practice level-flight instrument scans in VFR conditions before attempting IMC approaches. Your brain needs to learn that instrument scans don’t require head velocity.
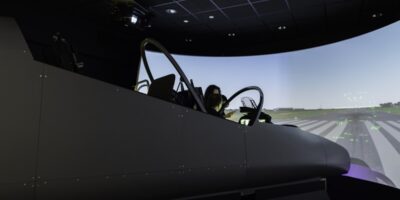
Graduated Exposure — Start VFR, Smooth Weather
Begin every session in VFR conditions, clear skies, light winds. No clouds, no rain effects. This eliminates competing motion cues from weather animation.
Pick slow trainers — Cessna 172, Piper Cherokee, Savage Cub. These aircraft bank and pitch gently. Jets accelerate your vestibular mismatch. Get 5+ flights in the Cessna before touching anything with an afterburner.
Recovery Drills and Conditioning
Session Structure for VR Flight Tolerance Building
Week one: 15-minute flights, 3-4 times weekly, VFR only. Stick to straight-and-level cruise. Your vestibular system is recalibrating.
Week two: 25-minute flights, simple approaches at familiar airports. Add gentle weather — light rain, small winds. Your tolerance rises faster than you’d expect.
Week three: 40-minute flights, procedural approaches, IMC navigation. Nausea becomes rare at this point.
By week four, most people tolerate 90+ minute sessions without symptoms. Slow trainers and level flight types — bush flying, sightseeing — feel comfortable immediately. Aerobatic and combat flight require an additional 2-3 weeks of conditioning.
Gaze-Focusing Exercises
Train your eyes to focus on instruments instead of the moving horizon. This sounds simple but directly reduces nausea.
During cruise, set a timer for 30 seconds. Stare at your altimeter without moving your head. Next 30 seconds, stare at the airspeed indicator. Repeat for 5 minutes. This trains your visual system to ignore peripheral motion.
Your eyes naturally follow the horizon during flight. This exercise retrains them to anchor on static references instead.
Rest Windows Matter
Stop flying the moment nausea starts. Don’t push through. Remove the headset, close your eyes, wait 5 minutes in normal daylight. You’ll return to tolerance faster than if you power through nausea.
If nausea hits after 20 minutes consistently, that’s your current tolerance ceiling. Respect it. Build from there — next session, target 25 minutes. Progress is exponential once you stop fighting your vestibular system.
So, without further ado: flight simulator motion sickness prevention boils down to one principle. Eliminate lag. Reduce FOV. Smooth your inputs. Build tolerance incrementally. Hardware sync matters. Flight technique matters. But patience? That matters most.
“`


Stay in the loop
Get the latest ultimate flight simulators updates delivered to your inbox.